Interior walls are often the unsung heroes of a home or commercial space. While paint and decor catch the eye, the real foundation of a seamless wall finish lies beneath—in the gib fixing. In a fast-growing city like Auckland, where renovation and construction are booming, gib fixing Auckland projects require attention to detail and expert execution. It’s an essential step in creating durable, flat walls and ceilings that stand the test of time. Whether you’re tackling a DIY renovation or working with contractors, understanding the importance of proper gib fixing can help you avoid costly mistakes down the line.
What Is Gib Fixing and Why Does It Matter?
Gib fixing refers to the installation of plasterboard (commonly called “gib” in New Zealand) onto framing structures like walls and ceilings. It’s not just about nailing boards into place; it’s about preparing a stable and smooth surface for painting or plastering.
Poor gib fixing can lead to a host of issues including:
- Uneven or bumpy walls
- Cracks at joints or corners
- Weak points that compromise durability
- Problems during plastering or painting
Done right, gib fixing not only improves aesthetics but also contributes to thermal and acoustic performance, especially in homes that require insulation.
Common Gib Fixing Challenges in Auckland
Moisture and Humidity
Auckland’s coastal climate presents unique challenges for gib fixing. Moisture buildup, if not accounted for, can weaken plasterboard and encourage mould. This is especially a concern in bathrooms, kitchens, and basements. Moisture-resistant boards are often recommended for such areas.
Renovation Work in Older Homes
Many Auckland homes were built decades ago, and when walls are opened up, surprises like uneven framing or old nails and wiring can complicate gib fixing. An experienced gib fixer will assess framing quality before starting, making sure everything is level and prepared.
Best Practices for Successful Gib Fixing
1. Prepare the Surface Properly
Before you even lift a sheet of plasterboard, ensure the frame is level, clean, and dry. Any deviation in the studs or ceiling battens will translate directly to the surface finish.
2. Use the Right Fasteners
Correct screw placement is critical. Screws should be spaced evenly and driven just deep enough to slightly indent the surface without tearing the paper. Overdriving can weaken the board and lead to crumbling around the screw heads.
3. Follow Recommended Fixing Patterns
Manufacturers like GIB® provide recommended fixing patterns to ensure strength and avoid joint stress. Following these guidelines is especially important in earthquake-prone zones like Auckland.
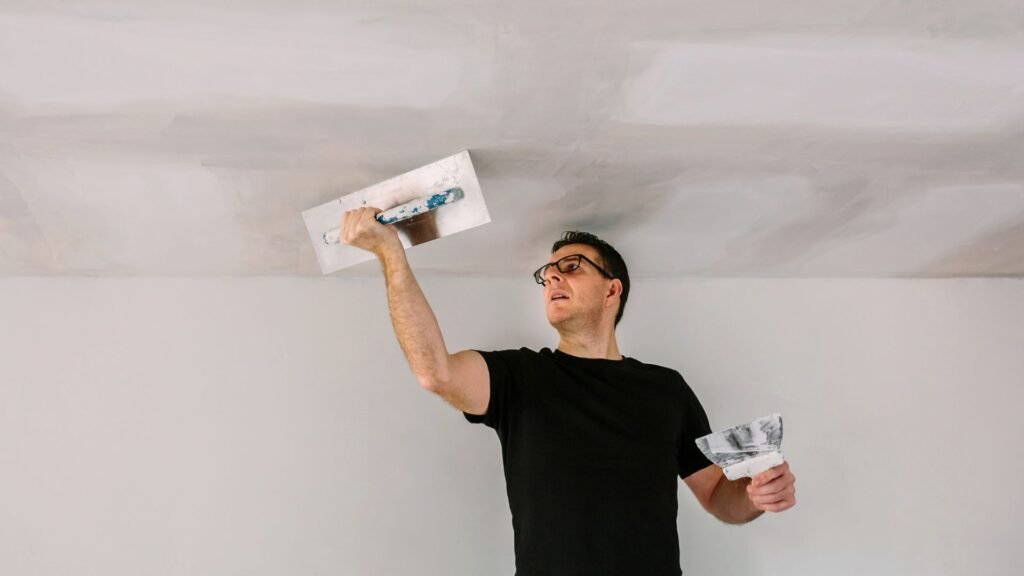
Finishing Touches: Jointing and Stopping
After the boards are fixed, jointing and stopping come next. This involves:
- Taping joints
- Applying compound in layers
- Sanding between coats for a seamless finish
The aim is to hide joints and screw holes so that once the wall is painted, no imperfections show through.
Integrating Erosion Control During Construction
While gib fixing focuses on interiors, it’s worth briefly touching on erosion control, especially for new builds and extensions in Auckland. Erosion and sediment runoff from construction sites can cause serious environmental damage and legal headaches.
Simple measures include:
- Installing silt fences and sediment traps
- Keeping construction zones tidy
- Scheduling earthworks during dry spells
Good site planning ensures both the exterior and interior of your project stay structurally sound and compliant.
When to Call in the Experts
DIY gib fixing can be satisfying, but it requires skill, tools, and time. If your project involves:
- Curved or high ceilings
- Commercial premises
- Renovating character homes
- Tight deadlines
…it may be best to hire a professional gib fixer. They’ll bring precision and speed, avoiding the headaches of uneven walls, visible joints, and plaster cracks later on.
Final Thoughts
Gib fixing may seem like a hidden part of the construction process, but its impact on the quality of your interiors is huge. Whether you’re building a new home or renovating in Auckland, getting this step right can make a real difference in both looks and longevity.
By following best practices, understanding the local conditions, and knowing when to bring in professional help, you can ensure a smooth finish that lasts. Combine that with smart planning—like erosion control on the exterior—and your project will be set up for success from frame to finish.